Anchor your tutorial links to one small piece of work you want to finish. Instead of collecting material on a broad subject, save the guides that help with that project. Editing one travel photo, for example, gives you a reason to keep a cropping tutorial and an export guide together—and to leave unrelated lessons for later.
Start with a Single, Finished Output
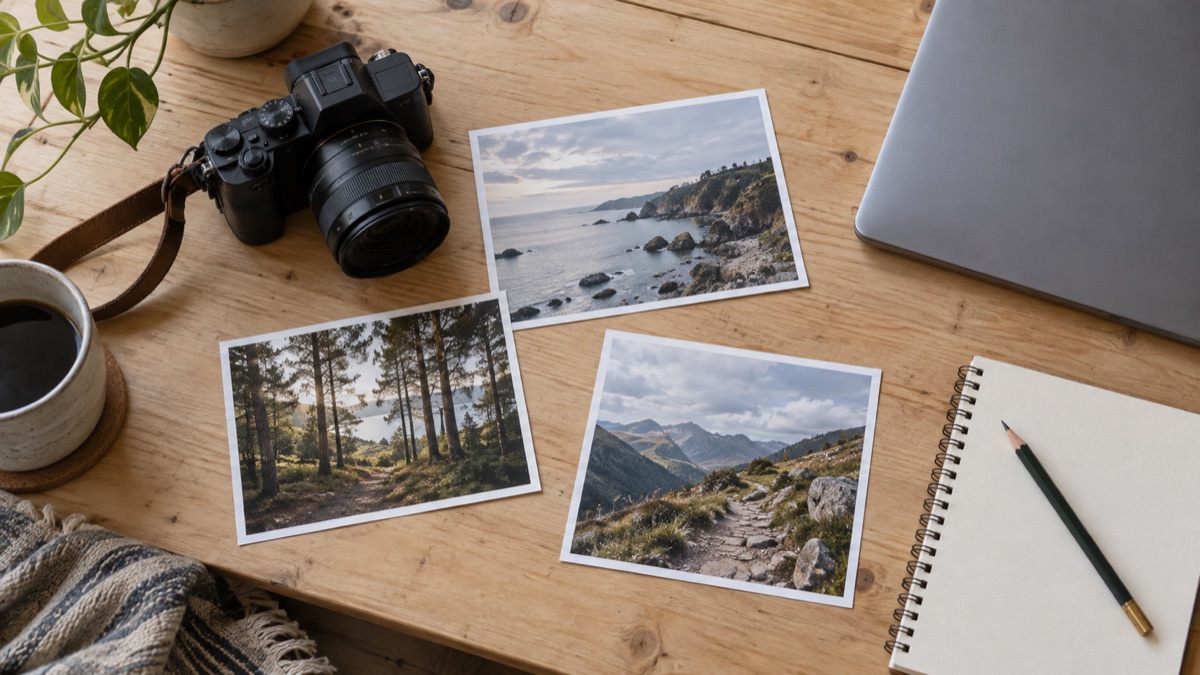
Broad learning goals make it difficult to decide which reference material matters. Promising yourself that you will master photo editing, for example, invites endless bookmarking across unrelated techniques.
Narrowing your goal to one small project changes how you filter resources. If your goal is simply to edit one travel photo, you do not need an entire curriculum. You only need reference material for three steps:
- Straightening and cropping the composition.
- Adjusting the exposure so the subject is clearly visible.
- Exporting the final image in the correct format for sharing.
Once you have this list, look only for guides that address these three parts. A short cropping tutorial, a focused exposure walkthrough, and an export guide can be a useful starting set. If you run across advanced color grading or retouching articles during your search, leave them aside for now. Limiting your links to what is necessary for this single photo keeps you focused on finishing the image rather than sorting through background reading.
Check Version Compatibility Before Saving
Before you rely on an article or video, check the source page to see which software version the creator is demonstrating. Interface layouts, tool names, and menu locations change over time. An outdated guide might refer to settings that no longer exist, while a guide for a newer release might rely on features your current installation does not have.
Checking the creator’s software version against your own can help you spot mismatches before you begin. If you find a discrepancy, you can search for a more relevant guide right away instead of getting stuck halfway through your project.
Grouping Links by Project with Tuck
When you come across relevant guides while browsing on your phone, saving them immediately keeps your momentum going. Tuck lets you save URLs from web pages, YouTube videos, and social posts on iPhone and Android by sharing through the share menu or pasting a link.
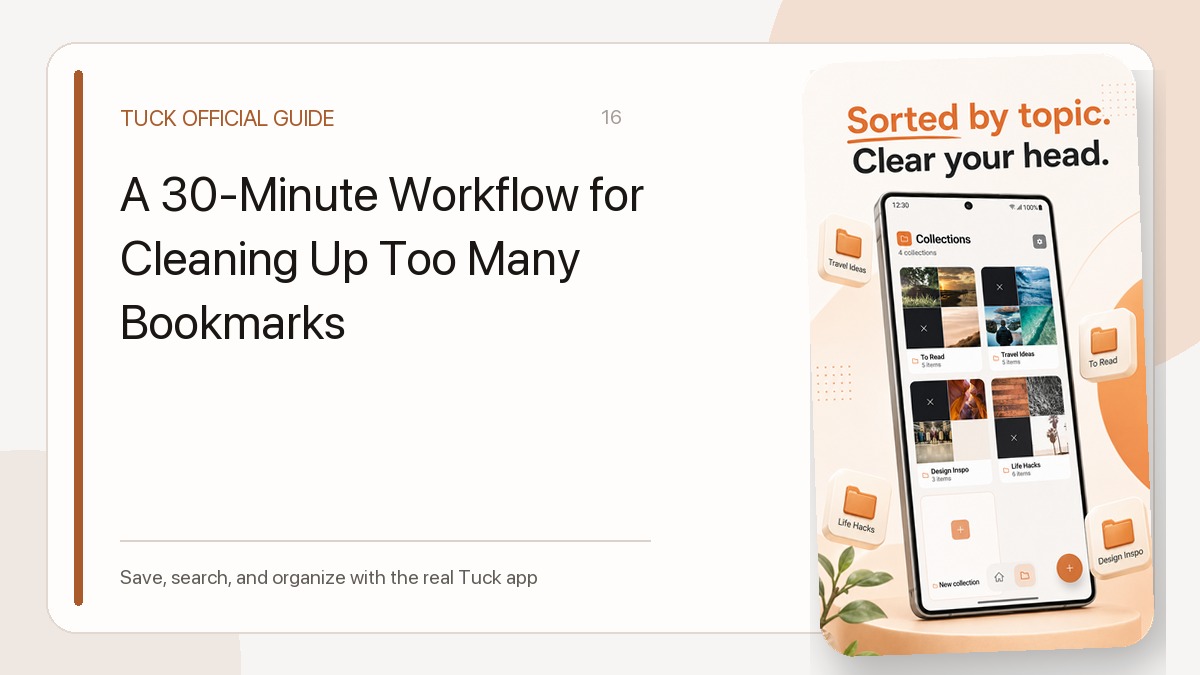
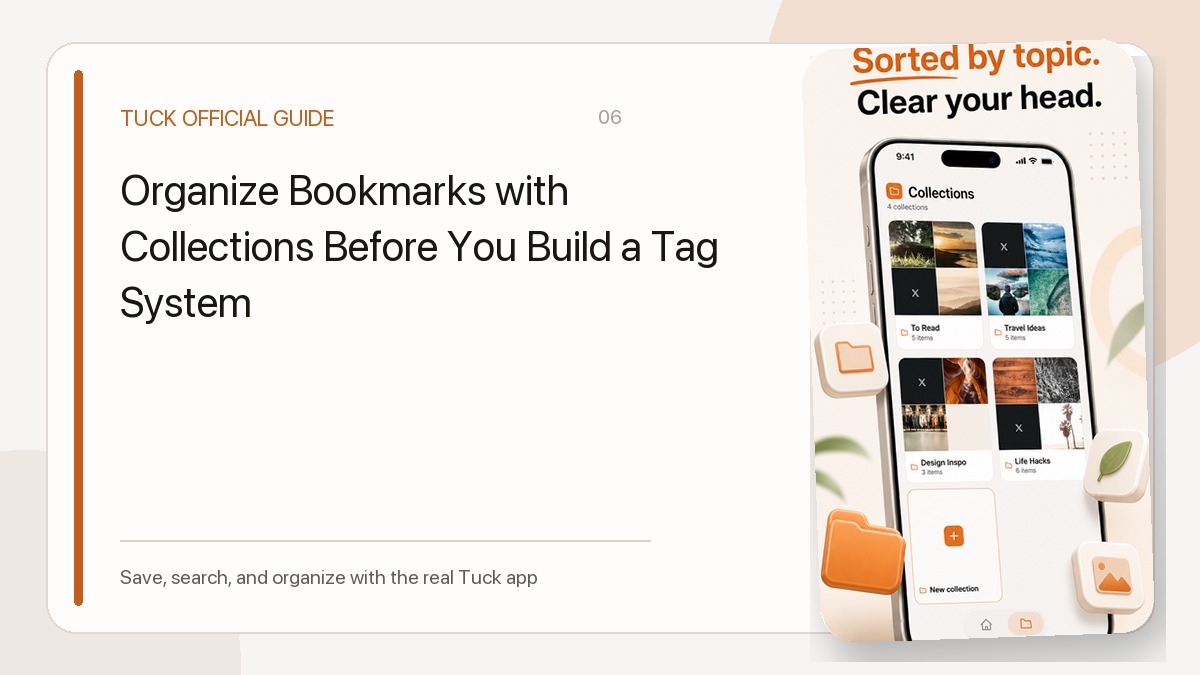
You do not need to categorize a link the moment you encounter it. You can save first and organize later once you know the link belongs to your project. When you are ready to assemble your materials, you can create a collection around your project title, such as “Travel Photo Edit.” Tuck allows you to bring different kinds of links—like a web article on export settings and a video walkthrough on basic exposure—into one collection.
A link can be assigned to one collection or left unassigned. Keep in mind that Tuck does not offer a way to manually arrange links in a custom sequence within a collection. The collection simply holds the relevant material in one location so you do not have to hunt for it across multiple apps.
To build out your collection smoothly, you can learn more about how to save YouTube tutorials directly to your list.
Track Practice and Notes Outside Your Link List
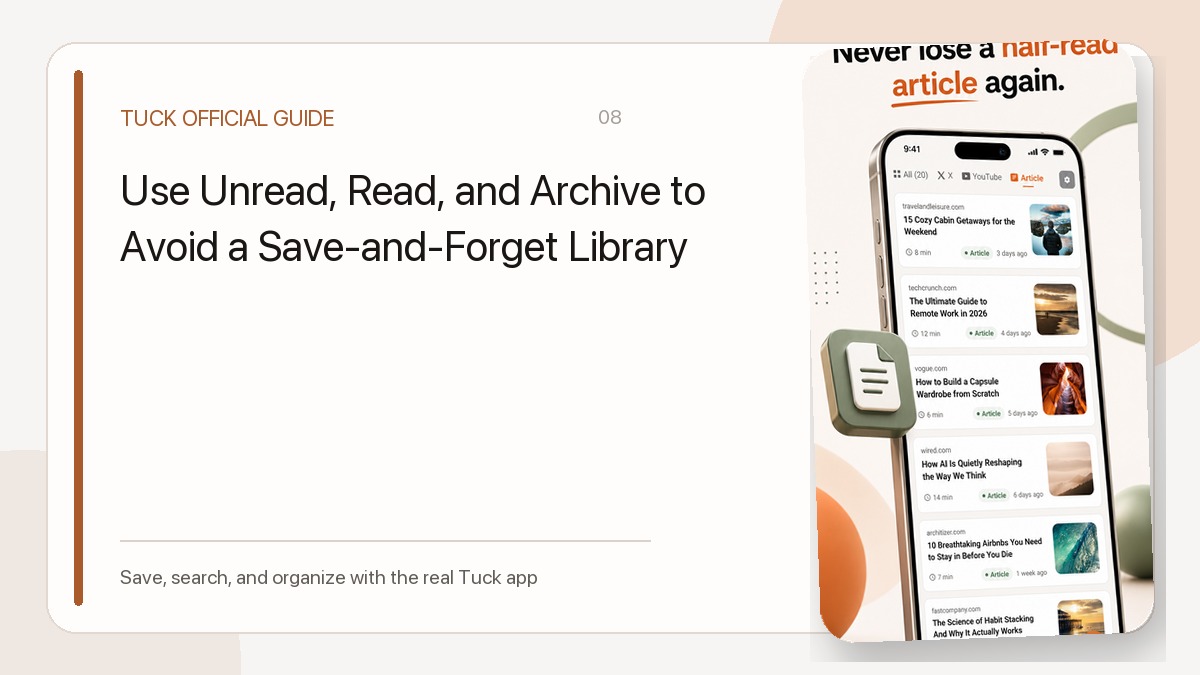
As you work through your guides, remember that link statuses inside Tuck are basic organizational states. Read is a link state that can change when you open the source or adjust it manually, but it does not mean you have finished watching the entire video, understood the technique, or successfully applied it to your own file.
Because Tuck does not provide built-in checklists, personal notes, or task tracking, keep your trial notes and project logs in a separate notebook or notes app. You can jot down:
- The exact exposure or contrast adjustments you used on your photo.
- Questions or steps that felt difficult during your first attempt.
- What you plan to practice on your next photo.
Separating your resource storage from your practical notes keeps both clean. Tuck holds the source URLs, while your outside notes record your actual experience and progress.
Clean Up After Completing the Project
Once your travel photo is finished and exported, review the links in your project collection. You will likely have guides you no longer need daily access to.
You can mark finished guides as read or move them to your archive. In Tuck, archiving a link removes it from the standard All view while keeping it accessible through the Archive filter. This clears out visual clutter so you can focus on your next small project without losing the references you relied on.
For more details on managing your list as projects wrap up, explore our guide on using the read, unread, and archive states. When you are ready for the next learning step, start with another specific item to make, gather only the guides needed for that task, and keep the process small and manageable.
Download Tuck
Tuck is an iPhone and Android app for saving, searching, and organizing links from social posts, videos, and web articles.